


Crib protector in the form of a plaid is not only a fashionable gadget and decorative article, but also a very functional item. It will help protect your toddler from hitting the hard bars of the crib or from rolling off your bed, so it is worth equipping your toddler’s room with such a gadget. However, did you know that instead of buying ready-made, you can make it yourself? In this post from our DIY series, we’ll tell you how to make a plaid crib protector in just fifteen minutes. To create this type of braid we will use velvet thick yarn with a thickness of 5 cm. If you want to make a braid of velvet thick yarn with a thickness of 3-4 cm, read this post. Ready? Here we go!
In addition to the instructions in this post, you can also watch our YouTube tutorial:
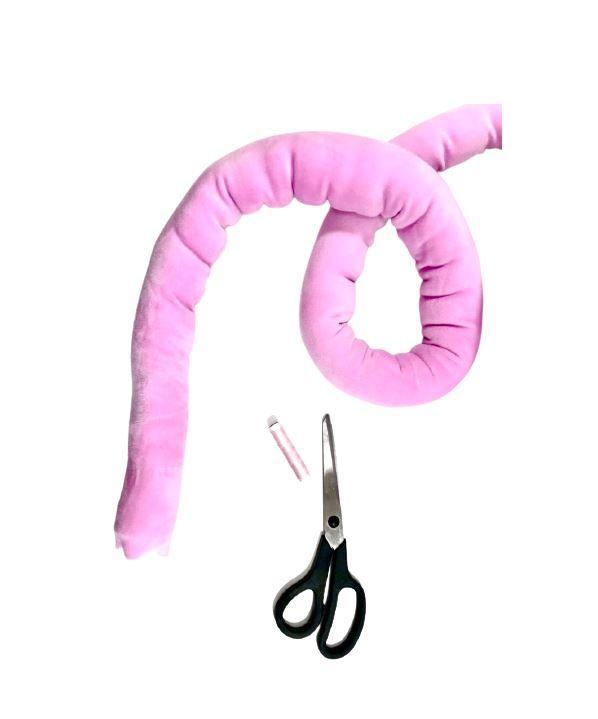
To create a braid you will need:
What exactly is velvet thick yarn? It is a tube made of velour fabric filled with polyester inlay. We wrote a little more extensively about it on our Facebook page.

One kilogram of yarn is about 11 meters long and is enough to make a braid about 2.6 meters long and about 14 cm high. The final dimensions depend on how densely you braid. Everything on the list ready? Here we go 🙂
1 The first thing to do is to secure the ends of the yarn – to do this, slide off about 1.5 cm of material, cut off the filling and sew the remaining loose braid. The same steps are repeated for the other end.

2 The next step is to divide the whole into three equal parts. The length of a single piece will be about 3.6 meters – the actual length will depend on the total length after securing the ends. To facilitate further work, it is a good idea to mark the measured sections, for example, with ribbons.

3. then fold the yarn into three according to the measured sections and arrange them so that on one side the free end of the yarn is in the bend of the other two. After obtaining such an arrangement, the free end is sewn to the bend.

4 Now we are ready to proceed with braiding. Girls, I’m sure that at least once in your life you’ve had a hair braid or a garland of flowers. Guys, if you haven’t done it so far, and you have a daughter, you’d better learn quickly – you won’t miss braiding your princess’ hair anyway 😉 Braid from yarn braid practically identical to the one from hair or flowers. The only difference is that in this case we do not have three loose strands that we weave, but one loose and one „double” bent in half. When weaving, therefore, be sure to rotate the long strand according to the direction of the strands to avoid curling. Below you have some photos showing the next stages of weaving.


5. weave continues until we reach the end. Here we have a situation analogous to the beginning of the braid: one loose end and a bend in the yarn. So we proceed in the same way as at the beginning – the loose end is sewn to the bend.

Congratulations, the plaid crib protector is ready, and made by yourself! The only thing left to do is to put it in the crib 🙂

We hope that with these instructions you no longer have any doubts about how to make a crib protector-warp on your own. You can buy the yarn for braiding in our store here: Velvet thick yarn 3-5 cm. If you are not yet a customer of ours, be sure to sign up for our newsletter before you buy to receive a discount on your first purchase. See you soon!